So you are getting your garden ready for the new summer season and….

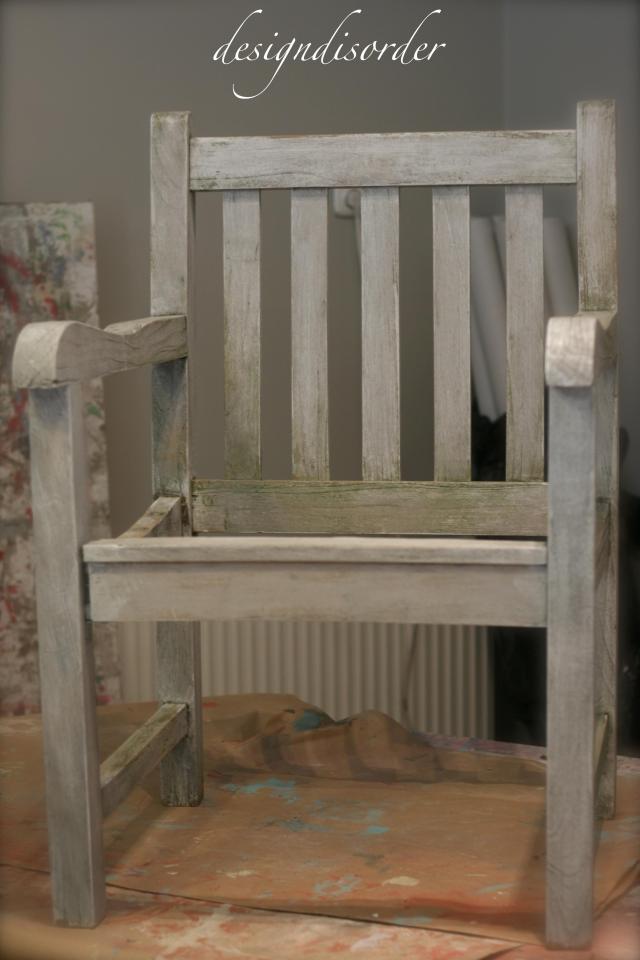
….the outdoor furniture looks a little bit like this:

IMG_5826

IMG_5827

IMG_5828

Come on, admit it—we all have  a few pieces that look like this!  I never bring our garden furniture in during the winter, I am not embarrassed to say.  Our garage just isn’t big enough.  I suppose, however, we could buy a cover…..I will think about it at the end of the summer 😉

One of the amazing things about Annie Sloan Chalk Paint ™ is that you can use it outside.  Really!  So in this particular chair I just sanded and scraped any of the old bits that were coming off of the chair.  The chair is solid teak which has a high oil content and quite strong so it is naturally resistant to weather but it does turn a silvery grey after time and many people don’t like this look.

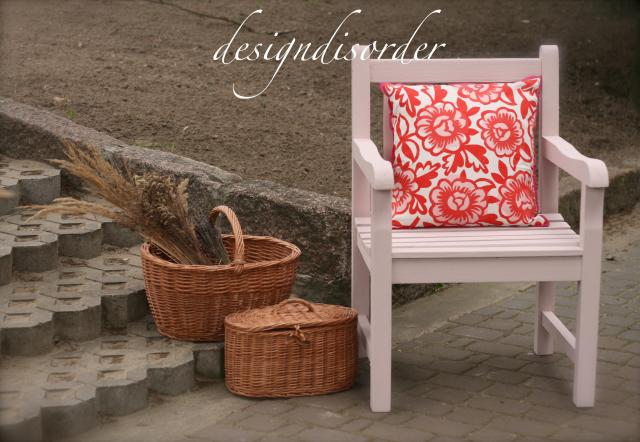
The good news is that you can paint it and it will look great once again.

Annie Sloan Chalk Paint is not latex or oil.  It is a water based paint and it is called Chalk Paint™ because the finish feels chalky once dried.

None of us that sell the paint know what the technical specifications are of the paint, which is ok, we just know what it can do!  And without the wax finish it can be left outside.  What will happen is that when it rains the paint will absorb the water and then it will dry.  It doesn’t do any harm to the paint.  In fact, I have signs on the outside of my shop that I have painted and left outside since I opened- and they look brand new.

I have a friend living in Warsaw who has been testing this for me on her patio furniture.  She painted it last summer and left it out all year.  What did happen is that the snails (we have a lot in Poland) have left marks on it.  She hasn’t tried to clean it off but likes how it ages the furniture.  She also said that in some spots around the feet the paint was thinner.  We did have a lot of snow this year and it was quite cold- so this would have affected it for sure. But she just needs to do a touch up on that.

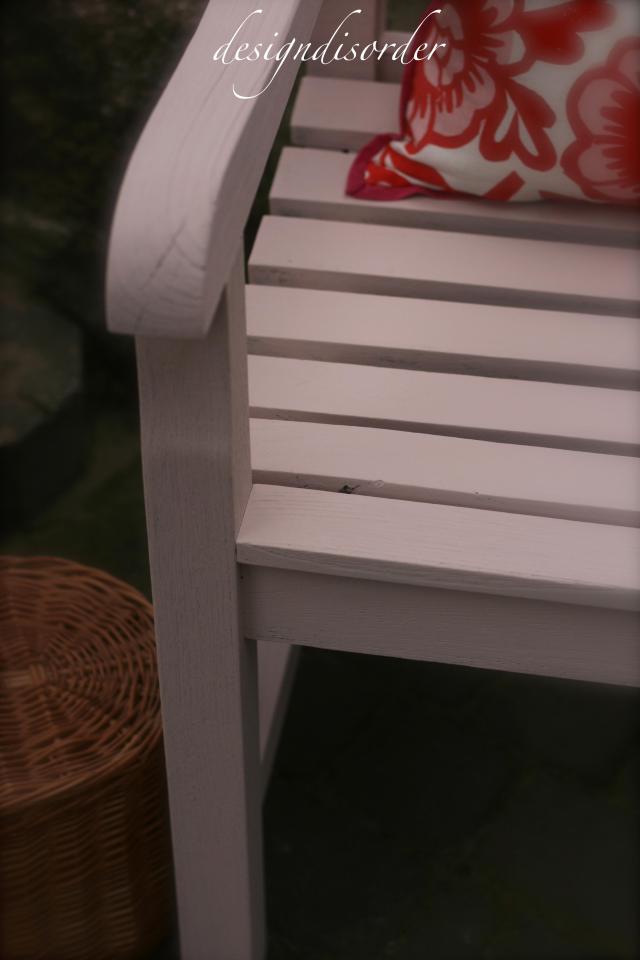
So….I painted the chair with Antoinette because it matches the outdoor cushion that my client already has.

IMG_5819

IMG_5821

IMG_5824

IMG_5825

And that is all there is to it!  Just the paint, no wax if left outside.  If a piece has been waxed and left outside there is a possibility that the wax will trap any moisture that gets under it and cause the wood to go moldy.  Without the wax the paint will dry on its own.

So now you don’t have to worry about buying new garden furniture!

From Babcia’s attic

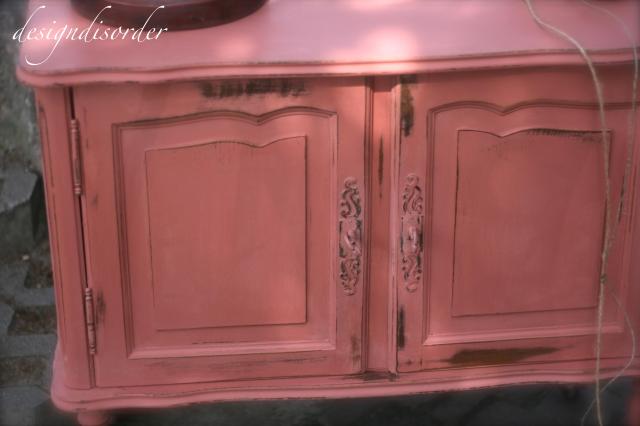
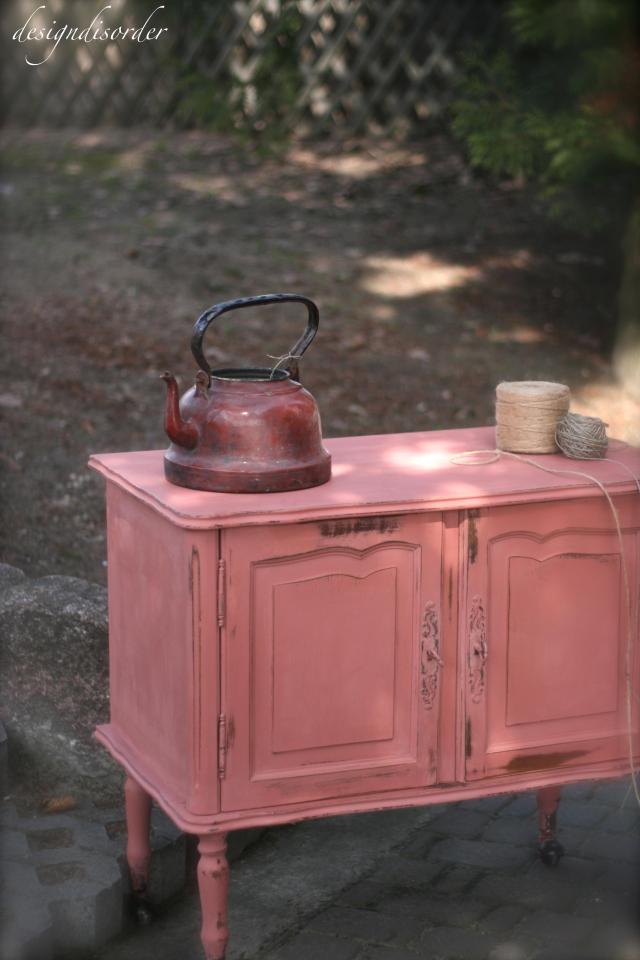
It took me a while to warm up to this colour.  It is Scandinavian Pink.  Not really a popular colour in the palette.  I do have one client that absolutely loves it because her grandparents immigrated from Sweden and it reminds her of them.

This is what we started with:

33352

I like the castors.  And it is in good condition.

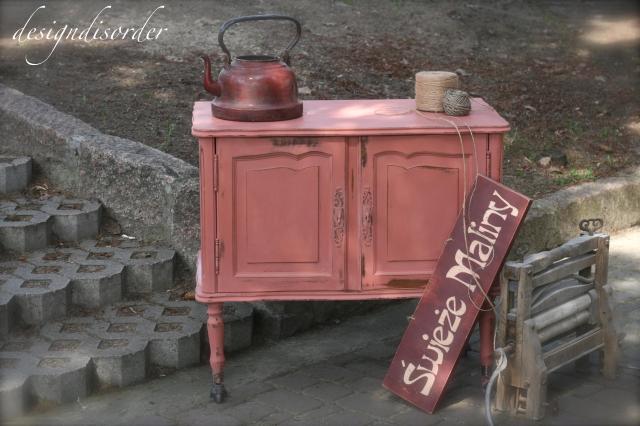
My assistant painted the entire thing in Scandinavian Pink and then heavily distressed it.  This is exactly how I imagine this colour being used.  As if it has been on a piece hiding in Babcia’s attic.  (Grandmother in Polish)  This colour, to me, is very rustic and reminds me of simple old country furniture.

So of course I took photos with some things that Babcia would have had….


IMG_5808

Swieze Maliny is “Fresh Raspberries” in Polish….just in case you were curious!  The hand wringer for washing the clothes always strikes up conversation in my shop.  I have had a few older ladies tell me that their grandmothers had the exact one.

IMG_5810

IMG_5811

IMG_5812

IMG_5813

IMG_5814

IMG_5815

IMG_5816


This piece may be a touch too fancy for how the colour would have actually been used but I think it works.  The details are quite simple and don’t conflict with the color.  Another thing, when distressing a rustic piece like this it is really important to distress with intent!  Where would a piece naturally age?  Around the hinges and handles, on the edges and corners and on the legs.  Something to ponder.

I have a goal to use all the colours in the Annie Sloan Chalk Paint™ palette- it is great to be able to show people how the colour will actually look once it is on a piece of furniture.

Don’t panic if this happens to you…..

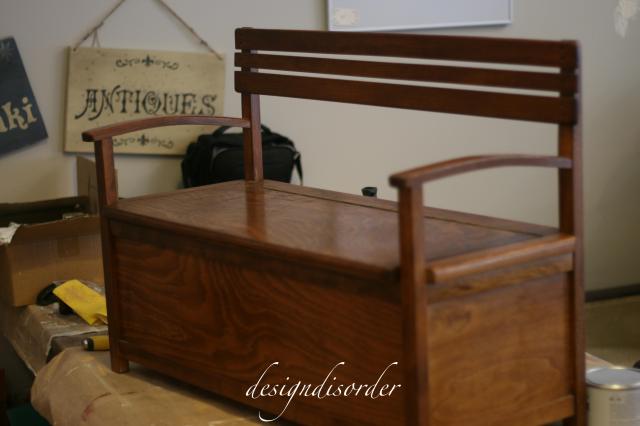
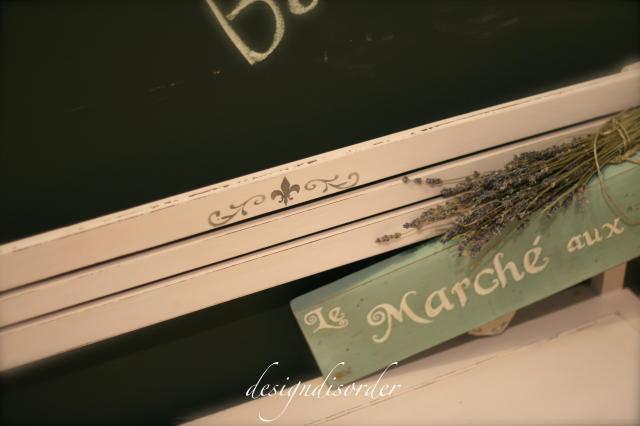
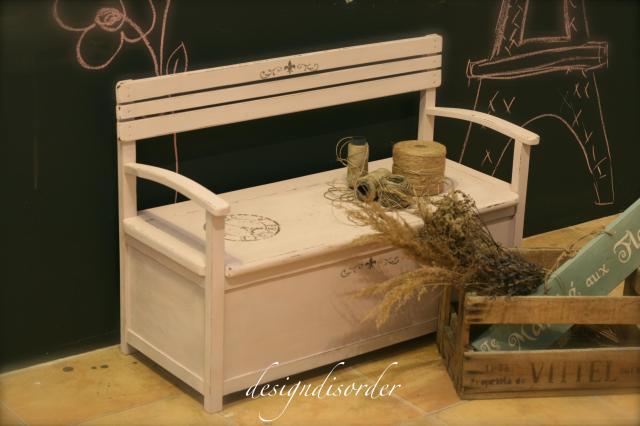
I found this sweet little bench- perfect for a child’s room.

IMG_5726
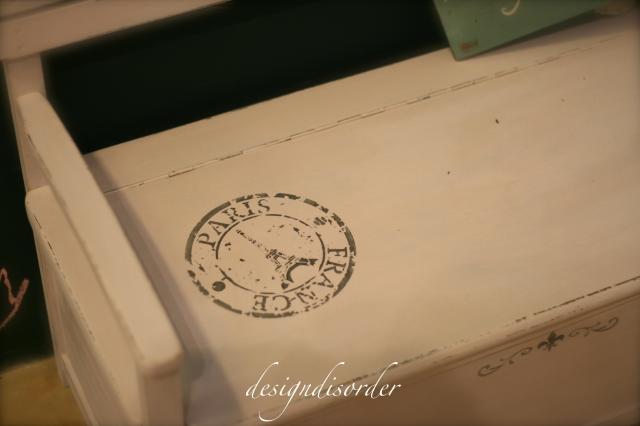
While I was in New Orleans I bought a few stencils and thought I would try a Paris stamp stencil on this.

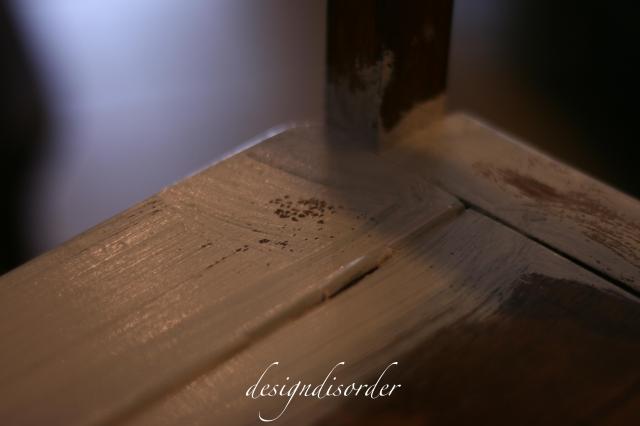
So I painted the entire bench in Antoinette.  And this happened.

IMG_5728

IMG_5730

The paint was beading up and wouldn’t adhere to a few places, particularly the seat.  If you are relatively new to this you may be in a panic, but don’t worry!  This can happen if there is some sort of oil finish on the furniture.  In my part of the world it seems that the sellers of second hand furniture, particularly from Holland, try and improve the look of the furniture so they add some sort of oil to give the wood a lustre.   We have a couple of options when this happens.  You could wipe the paint off then lightly sand to just scuff up the surface.  Then re paint. Or you could leave the paint on  for about five minutes till it starts to thicken then go over it with the brush again.  The beading usually stops.

This is what I do.  The thicker paint seems to adhere to the oily surface much better.  Once that dries I paint a second coat.  It is pretty simple and the paint will not come off the oiled surface.

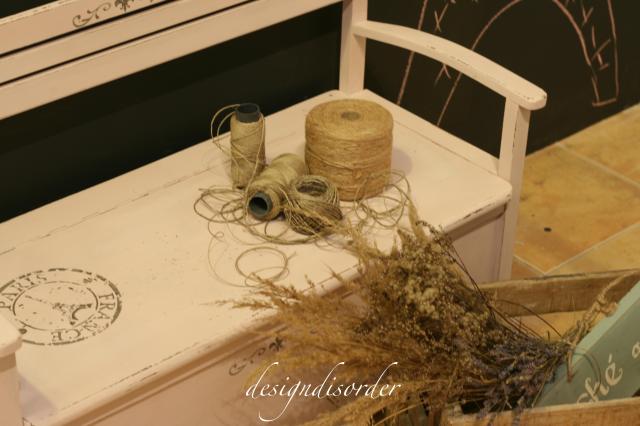
So once I had done two coats of Antoinette I then added the stencil with Graphite.  Then I clear waxed and distressed the edges.

IMG_5776

IMG_5778

There were five little girls in my shop today and they all loved it- so I would say it is a success!

And of course just for fun I drew a French icon on the chalk wall…because if we can’t be in Paris- maybe this is the next best thing!  (maybe after a glass or two of wine)

IMG_5800

IMG_5789

IMG_5792

IMG_5798


IMG_5800


Versailles and Old White sideboard

If this doesn’t show the magic that is Annie Sloan Chalk Paint™ –then I don’t know what will!!

I started out with this:

IMG_5546

Embarrassingly outdated but in good condition.  The wood is durable European oak- it has nice curves and carving details.

My assistant actually painted this one- I asked her to paint everything in Versailles, which is a very soft green and then all the raised details in Old White.

IMG_5739

Maybe I am losing my marbles with the chalk drawings on the wall- but I am having fun with it….and if you don’t enjoy your work then it becomes a job! (my opinion anyway)IMG_5740

IMG_5741

Once the piece was painted she then waxed with clear wax then sanded to highlight some of the details.  I then showed her a technique to highlight the Old White carvings even more.

IMG_5737

I mixed a bit of dark wax with clear wax, then applied it on the carvings and immediately wiped off with a cloth.  Some of the wax remained in the details giving more of an aged effect- which I think works well here.IMG_5738

She also added the dark wax on the corners of the top- and other areas that would show age naturally.  This is actually a great tip for those just getting into the dark wax.  Dark wax alone can be a bit intimidating- try darkening clear wax with a touch of the dark wax and apply- until you have worked up the courage to go full on dark wax.

How is it possible that one paint has so many possibilities?


Arles….just like sunny France

Perhaps Arles is most famous for this:

200px-Vincent_Willem_van_Gogh_015


Source

This is “Cafe at Night” by Van Gogh.  The cafe does exist and it looks just like this painting.

The colour Arles is inspired by this very location….and it is just as sunny.

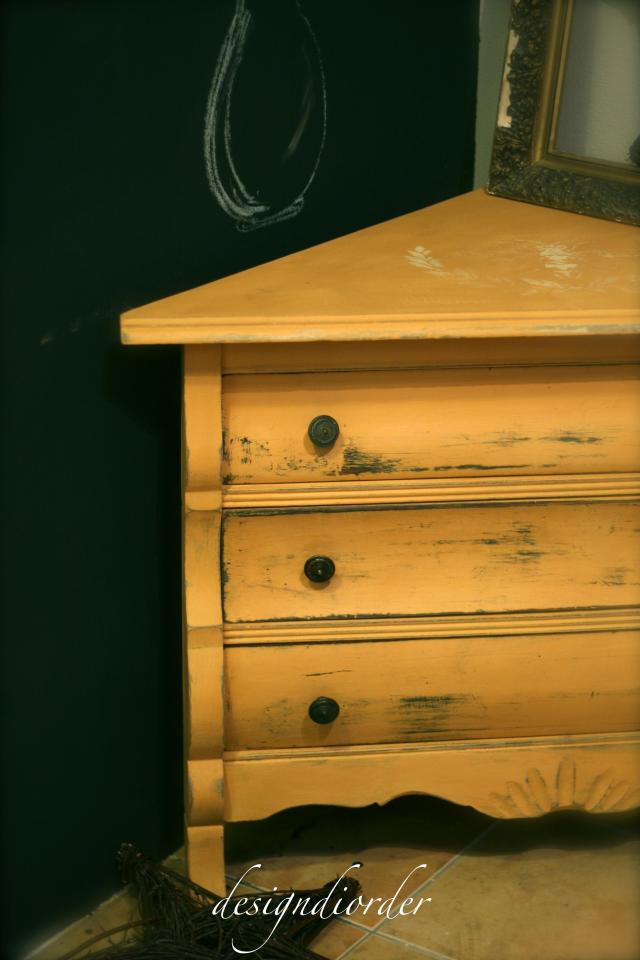
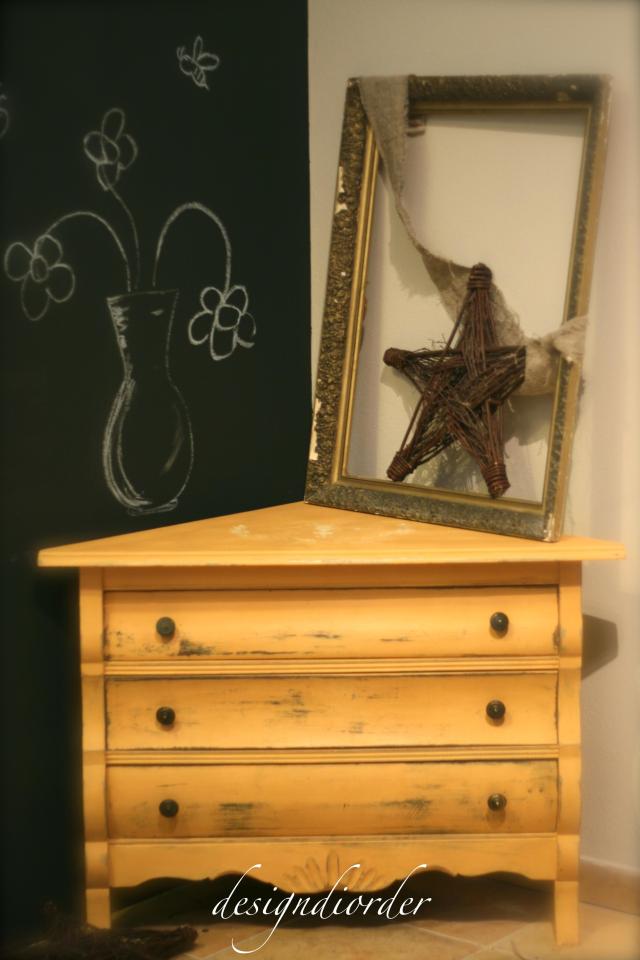
I have a corner chest of drawers that I am trying to give new life to and of course nothing says spring than a sunny yellow….and since spring doesn’t look like it will be happening any time soon- this colour is the next best thing.

IMG_5669

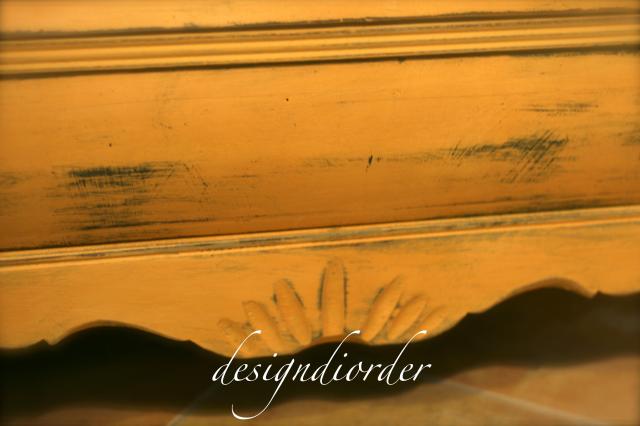
I have used a heavy hand on the distressing here.  I really wanted this to be quite old looking.

IMG_5673

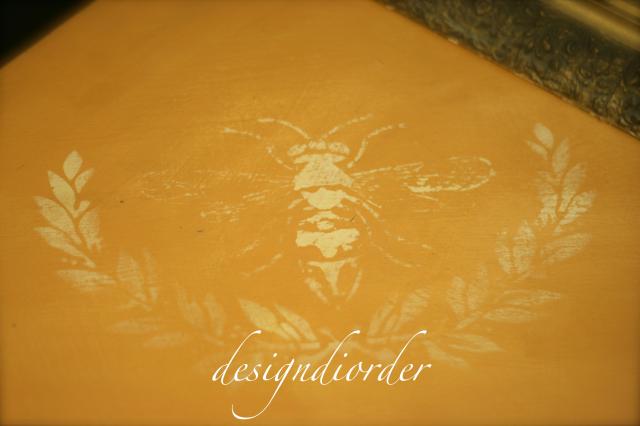
You can just barely see the bee stencil on the top.  I painted that with Old White.

IMG_5679

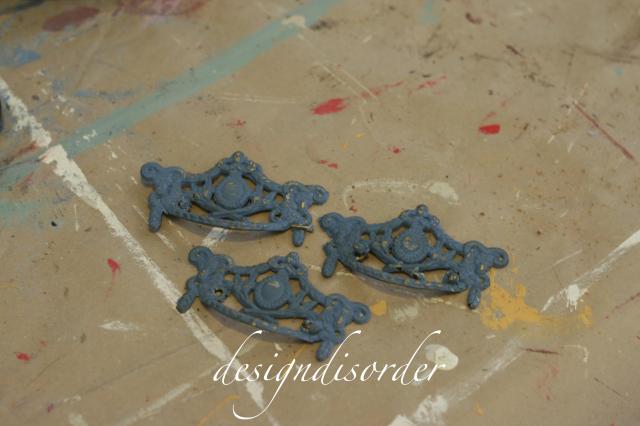
The handles are quite old, I pulled them off another piece I did.  I usually save everything with the hopes of re using it.  Makes my shop very crowded- but in a good way.

IMG_5681

IMG_5682

IMG_5683

IMG_5686

IMG_5690


You can probably tell I am having fun with the wall.  Annie Sloan Chalk Paint™ is not chalkboard paint but it can be used as a chalkboard!  Great for childrens’ rooms!

What I learned in New Orleans


As I posted previously- I was in New Orleans for the Annie Sloan Chalk Paint™ stockists conference.  Those of us that sell the paint gathered to learn and to take workshops, brainstorm with others and just generally have a good time in a beautiful city.

One of the things I took away was the importance of photography.  I already knew it was important, I have taken courses and really enjoy it, but because most of my before and afters are taken in my shop it was very difficult to stage the setting for the photos.

And then I started chit chatting with a stockist from Wales.  She and her partner had showed me how they take their shots on a brick wall outside of their shop.  They look really great, but I don’t have a brick wall.

And then later Annie thought how beautiful everything looked against a black/graphite wall.  Well this I could do.  So today, my first day back, I painted a section of my wall in Amsterdam green so that I can now stage my before and afters in the shop and hopefully they will have more impact.

I can’t stage in my home.  I won’t, actually.   Driving back and forth with furniture for a good photo is silly.  So I think I have achieved the next best thing.

And it is kind of fun.  I think I will paint another piece of the wall in a different colour just to mix it up a bit.

So….about the furniture!

In my first shop I bought a small chest of drawers, I painted it and put it on display.  Nobody really looked at it- not sure why, but it happens.  So now that I am in a new place I want to put more things outside to catch peoples eyes.  I painted the chest of drawers in Monet Blue.  (this is a European colour only).

Then I clear waxed, sanded, dark waxed and set it out.

IMG_5626


It looked funny to me.  And then I figured out why!  The handles.  I can’t really explain why, perhaps the handles were cheap looking, too dainty for the furniture or I just simply didn’t like them-  but they were not working.  So I took them off, filed in the holes, sanded, painted waxed and then drilled new holes for new handles….and this is where we are now!

Strong colour blue and cute white handles.  Much better!

IMG_5630

The handles are ceramic with a gold screw in the centre.  I think they work well with this piece.

IMG_5612


I have only lightly distressed and added a bit of dark wax to give it dimension.

IMG_5631

IMG_5622

IMG_5615

IMG_5632


And this is my inspired attempt at staging.  I plan to have fun with it, I think it is a huge improvement, for sure!  I have also left my tripod at my shop so that I can take photos in the difficult lighting and lack of space I have in my shop.
If you are wondering why Monet Blue is a European colour only- different parts of the world have different pigments.  When Annie Sloan was mixing the U.S. paints- the pigments were not the same as the original European colours.  So for example:  I have Original, Monet Blue, Amsterdam Green, Sienna Yellow- which the North American stockists don’t have.

And the North American stockist have Nepoleonic Blue- which is beautiful—-and I don’t have that!