One pot of paint.

One pot of Annie Sloan Chalk Paint™ to be specific.

Expensive?  Well, compared to normal latex or oil sold by the litre or quart perhaps it is.

But then again, you don’t have to take off the existing finish with either sand paper or chemical peeler.

And that to me is worth its weight in gold.  Not to mention the drying time is short and the paint doesn’t need to “cure” so once dry you can paint straight away a second coat.

Well, how many pieces can you paint with it??  On my pots it says 13  square metres.

Let’s see.

I have been painting on site at the house of one of my lovely Dutch clients….who is on her way to Africa for their next placement-  so I have been trying to get everything painted for them before the movers arrive.

I started with one can of Original white.

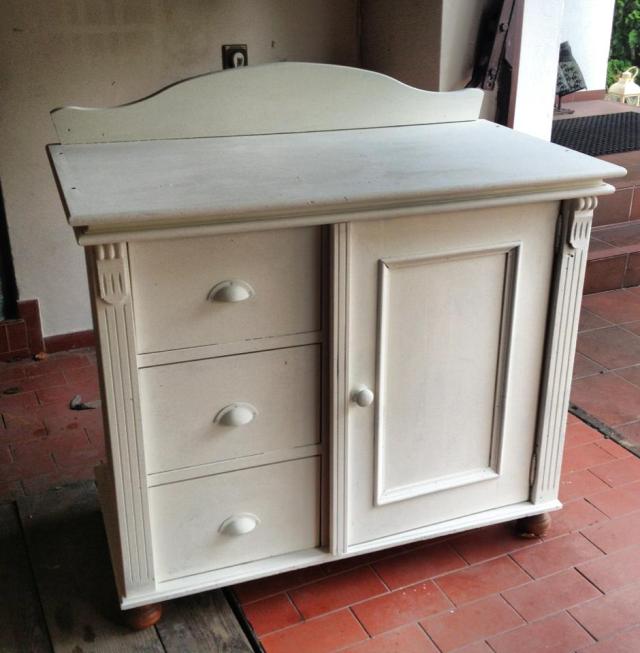
And this is what I painted:

931189_556860697693092_1834429413_n

Two coats (I did also paint the feet!) on the above piece.  I didn’t paint the inside, though.

1044312_556860491026446_832226582_n

Two coats on the above including inside the doors.

1044394_556860857693076_496857696_n

And one coat with a second coat on about half of this. (I didn’t paint the interior)

Not bad, eh!

Annie Sloan Chalk Paint™ is thick.  It is supposed to be as it has many uses.  From colour washes to impasto–it is an extremely flexible paint.

So one pot of paint mixed with water every so often will paint about this much.  The colour of the wood was a medium pine- so quite possibly if your original wood colour is dark you may have to paint more coats to cover if you are using a light colour paint.

I think the price of the paint is worth it, don’t you?


And yet another chair……

At least they are all different!  I have another set of four and a set of six…..you will probably see those too!


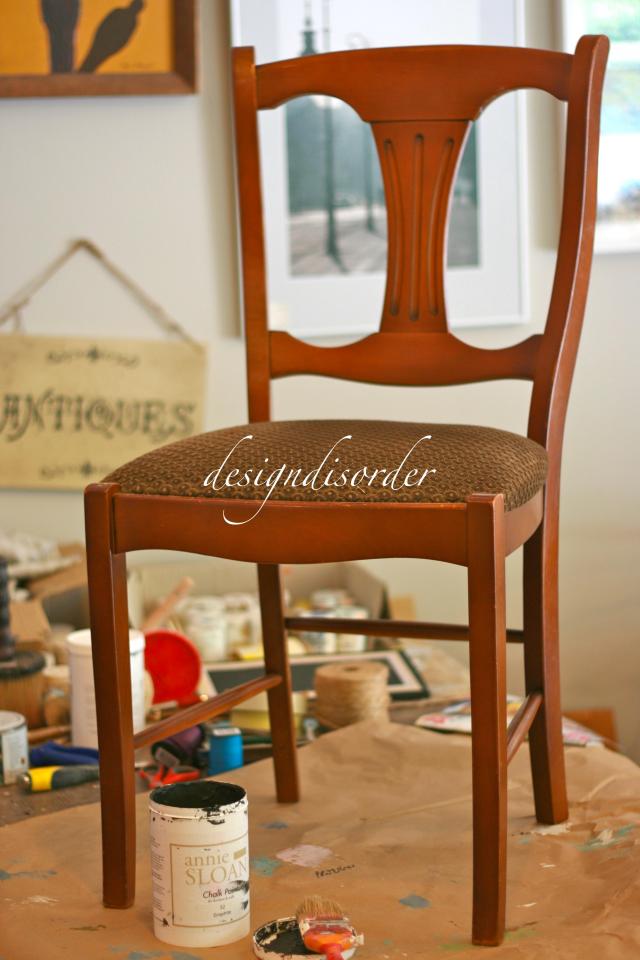
Here is the before:

IMG_5944

It is actually not that old- there is a stamp that says 1993 on it.  Solid wood, great shape- just ugly.

IMG_5945

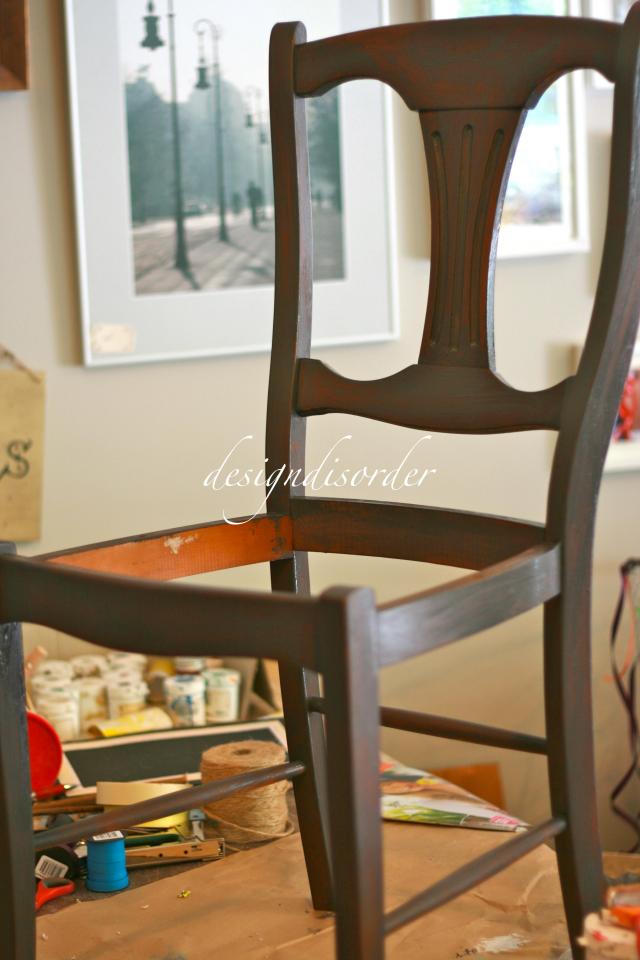
After one coat of grahite.

IMG_5947

Some of the details:

IMG_5948

IMG_5951

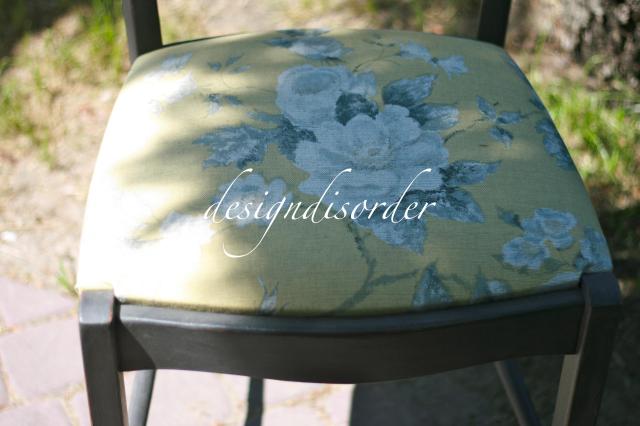
And of course I changed the fabric….

IMG_5952

And here is the final result!

IMG_5955

IMG_5957

IMG_5958


It is a really nice colour combination and is not too frilly girly- which would work in a lot of homes.  These have actually already sold….so on to the next four chairs!


the chair continued…

Almost finished!  I have one minor detail to finish up but it is pretty much complete!

So I went to the upholstery wholesalers and picked up some lovely stuff needed.  Namely springs.  And then away I went.

I am not an expert so I wouldn’t do a tutorial on this, the experts usually post their techniques on youtube or similar so we can all be in awe of their mad skills!

First I installed the springs and tied them down.

IMG_5905

This is the fussiest part.  They need to be tied down in all directions including the diagonal.  The also need to be fixed to the webbing.IMG_5906

So once that part is complete the experts usually add a layer of muslin to keep everything in place.  I skipped this step on purpose.  There is limited staple space on this chair and I needed to use it wisely.  So my next step was a layer of coconut.  Yes coconut.  Old school is horse hair but coconut is, in my opinion a bit better.  It is thicker.  And then I softened the edges with batting.IMG_5907

There is also a full layer of batting on top of the coconut husks and then a layer of felt.  Then on top of that is another layer of batting.IMG_5908

Then the fabric was stapled down.
IMG_5909

IMG_5910

IMG_5911

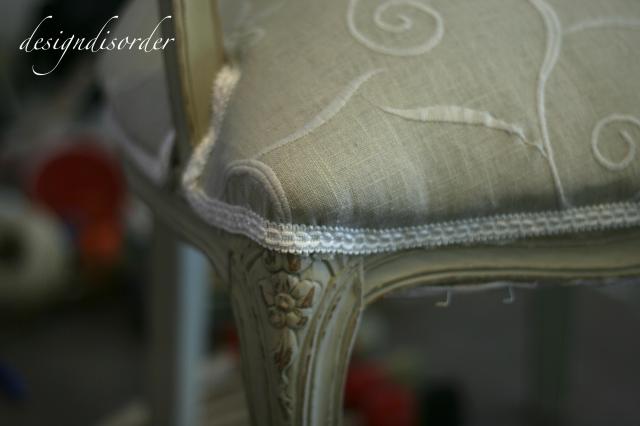
The next step after all the stapling is to trim off the excess.  Then I hot glue trim to hide the staples.

IMG_5912

I just notice now looking at the photos that the trim looks a bit wonky!  In person it isn’t so apparent.  And luckily it kind of adds to the shabby/imperfect feel of the chair.IMG_5913

IMG_5914


And that is all there is to it!  I am by no means a star with the upholstery but this is a medium difficulty project and there are loads of videos out there on the web to talk you through it.  The last step is covering the seat webbing with a piece of fabric to hide all the insides.


Working on a Louis chair

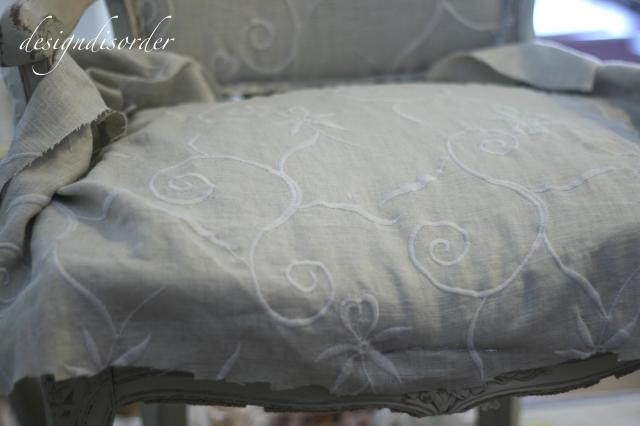
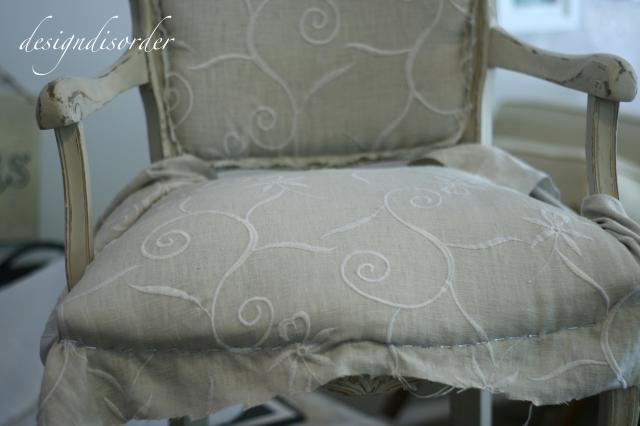
This is my current project….not quite done, as you can see!  I am at a stand still until tomorrow morning.  I will be heading out bright and early to the other side of Warsaw to pick up some springs and other necessary materials for small upholstery projects.

IMG_5900

This chair has actually been sitting in my shop for a very long time.  I bought it and striped the fabric and other inside materials out but was disappointed to find that somebody did a half hearted repair.  There were no springs in the seat just layers of foam.  So I painted it up and had the idea of hanging it on the outside of my shop but my carpenter, who thinks I am a little crazy, didn’t think it was a good idea.

Then last week it was spied by an Irish lady who bought it.  She chose the  linen fabric from a pile I have and away I went.  The top portion was not hard- a layer of cardboard and a layer of foam between fabric—the seat is the problem.  It needs springs and normally when I have a chair like this I reuse the old “guts” of the chair…..but the “guts” of this chair were removed.

It does have nice details in the carvings and a simple distressing really highlights this.  The colour is country grey finished with clear wax.

IMG_5904

IMG_5903

IMG_5902

IMG_5901

On my upholstery shopping list is trim to hide the staples, webbing for the seat, springs, a natural fiber layer (coconut) and probably some string.

Hopefully tomorrow this lovely little chair will be done.

Fingers crossed!